Starting AgencyGP
Pre-Invocation
Before invoking the AgencyGP plug-in, you must set up the Maya scene on which you want it to operate. The elements of this scene will be the planar NURBS curves which will be extruded into space and the shaders you wish to use to indicate zones of different types.
| 1. Set up your NURBS curves. | ||
| AgencyGP will operate on any set of NURBS curves without height components. That means you are free to load or create any curves you wish on any plane parallel to the base plane. These are the curves that will be manipulated and extruded in the GP. They may come from any sort of analysis or investigation. | ||
2. Set up your shaders. |
||
| AgencyGP will allow you to establish any number of types of zones with different desired spatial characteristcs. It will communicate what shape has been assigned to what zone by assigning a particular shader to it. So set up at least as many shaders as you are interested in having zone types and make them different enough in color or other characteristic to make them easily distinguishable. Give them names that you will be able to recognize them by: their color or their intended zone type are good choices. | ||
3. Set the Shading mode to smooth. |
||
| From the Shading menu at the top of your drawing window, select Smooth Shade All. | ||
4. Position your scene. |
||
|
You will not be able to reposition
or change the camera angle at all while AgencyGP is running, so
it is essential that you set up your scene so that its contents
can be easily evaluated during the run. The AgencyGP interface is
somewhat large, so it is a good idea to make your scene somewhat
small and position it to the bottom left of the screen. Rotate it
so that your base plane is very oblique to the camera. That way
tall extrusions will not be as likely to extend off the screen.
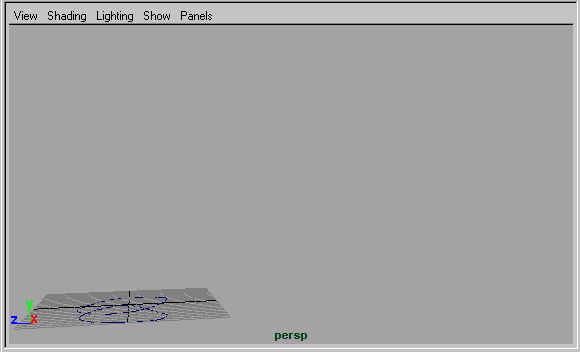
Here is a picture of a scene properly positioned for a run of AgencyGP.
|
 |
|
5. Save your Maya scene. |
||
| Please now save your scene. Nothing in this world is certain, and this is a great time to safeguard your work. | ||
6. Select the curves you wish AgencyGP to operate on. |
||
| Note that the more curves you select, the slower each generation will be to compute. There is a fairly low practical limit to how many curves it makes sense to select for a run. (No more than 5 for a quick run; no more than 20 for a slow run.) | ||
7. Hit the |
||
|
If the button does not appear or the interface deos not appear after the button is pressed, consult troubleshooting.
|
||
| 8. The Population dialog page will show up. The only availavle option on it will be the "Initialize Population" button. | ||
| After setting up your zoneTypes, agents, and genetic engine the way you want them and saving your settings (see Interface), initialize your population, and begin evolving designs. | ||